Kiosk mode for iOS

e.g. for self-check-in stations

Here you can find out how to use the guestoo check-in app in kiosk mode and which settings we recommend.

Using the kiosk mode, you can, for example, implement self-check-in stations where your guests can check in to the event independently using the devices provided on site.

Important: The kiosk mode is currently only available under iOS, when using Apple devices!

Du kannst für das guestoo Back-End zwischen zwei Darstellungsoptionen wählen. Die Screenshots in der Doku basieren auf dem "Klassischen Design".
Hier siehst Du die Unterschiede, damit Du dich auch im "Modernen Design" zurecht findest: » guestoo Back-End-Design

Device settings


In order to be able to use the guestoo check-in app in kiosk mode, you must first activate guided access on your Apple device (e.g. iPhone, iPod touch or iPad).


This is how

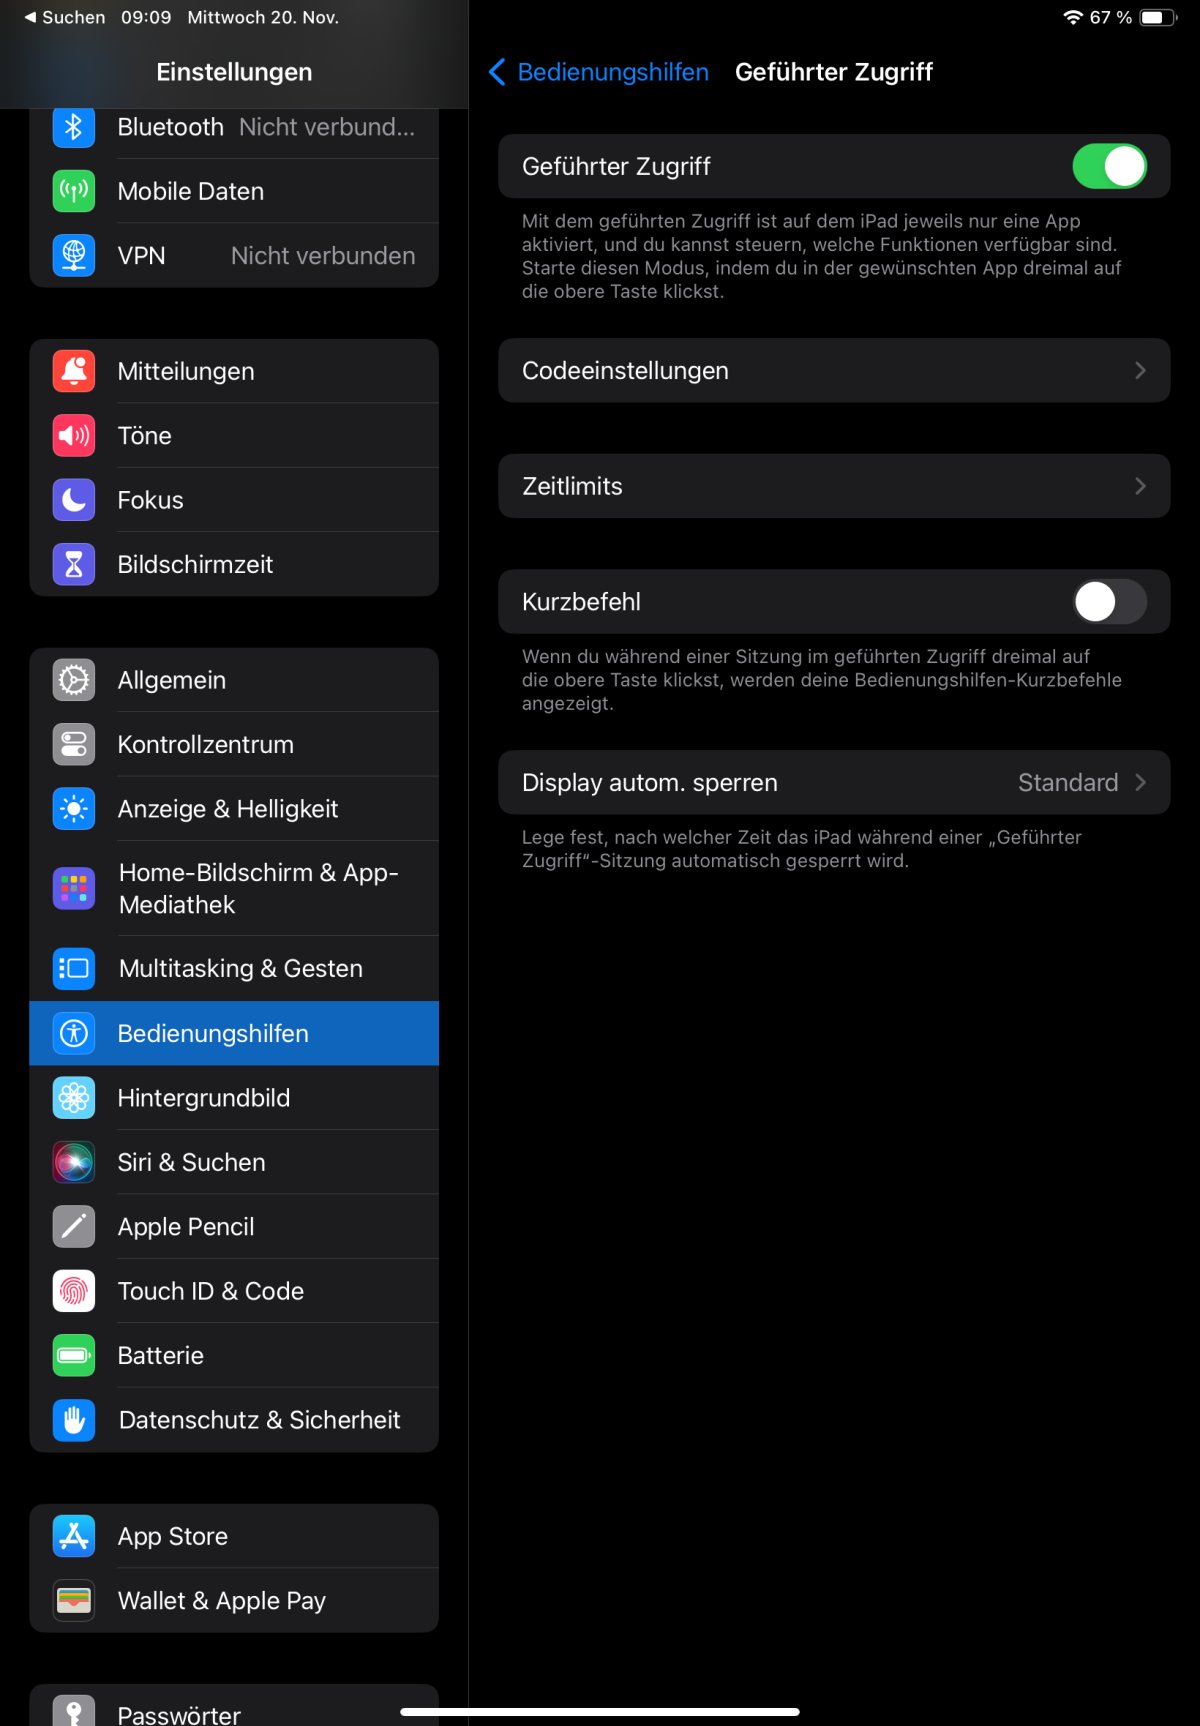
  • Go to the Settings of the device
  • Select the “Accessibility” menu item
  • Activate the “Guided access” option
  • Then tap on the “Passcode settings” menu item and set a passcode there or activate Face ID

    Important: You should memorize the code specified here or write it down if necessary, since you will need it to exit the app's kiosk mode again


Once you have made this setting, you can activate the kiosk mode in the check-in app at any time:

  • Open the guestoo Check-in app
  • Click the top button on the device that you also use to switch on the device three times in quick succession
  • The app is now in kiosk mode and displays a very minimalistic check-in view, which ensures that guests cannot accidentally leave the check-in view and that they do not have access to the app's settings
  • To exit kiosk mode, click the top button on the device three times in quick succession again
  • If you have set a passcode, you must now enter it (or, if active, use Face ID) to return to the normal view of the app

Recommended app settings


If you would like to use the kiosk mode of the check-in app, we recommend that you first make the following settings in the app under “Check-in settings” (see documentation) to make self-check-in as easy as possible for your guests:

  • Welche Aktion soll ausgeführt werden?
    Hier kannst Du entscheiden, welche Option für Dein Event am meisten Sinn macht. Es gibt keine Option, die sich besser oder schlechter eignet, es kommt hier auf die individuelle Nutzung an.
  • Für wen soll diese Aktion ausgeführt werden?
    Auch hier kannst Du entscheiden, welche Option für Dein Event am meisten Sinn macht. Es gibt keine Option, die sich besser oder schlechter eignet, es kommt hier auf die individuelle Nutzung an.
  • Wie sollen die Namensschilder beim Einchecken gedruckt werden?
    Wir empfehlen (falls Namensschilder gedruckt werden sollen) die Option "Automatisch", damit keine weiteren Bestätigungs-Schritte für den Gast nötig sind.
  • Druck-Modus
    Wir empfehlen, je nach verwendetem Drucker, die Option "Brother Drucker" (nur wenn ein Gerät der Marke Brother verwendet wird!) oder die Option "Drucken ohne Dialog" (wenn ein Drucker einer anderen Marke verwendet wird). Bei beiden Optionen entfallen zusätzliche Bestätigungs-Schritte, sodass das Namensschild - in Kombination mit der oben vorgenommenen Einstellung - ohne weitere Umwege automatisch ausgedruckt wird.
  • Kundenkarten
    Optional. Wenn Du erwartest, dass Gäste mit Kundenkarte erscheinen, solltest Du hier das gewünschte Event auswählen, in das sie beim Scannen ihres QR-Codes eingecheckt werden sollen.