The field type “Matchmaking” gives your guests the opportunity to specify a preferred partner, e.g. for shared hotel rooms, meetings or team building. If the other person agrees, the match is made.
This field type is only available with the corresponding feature.
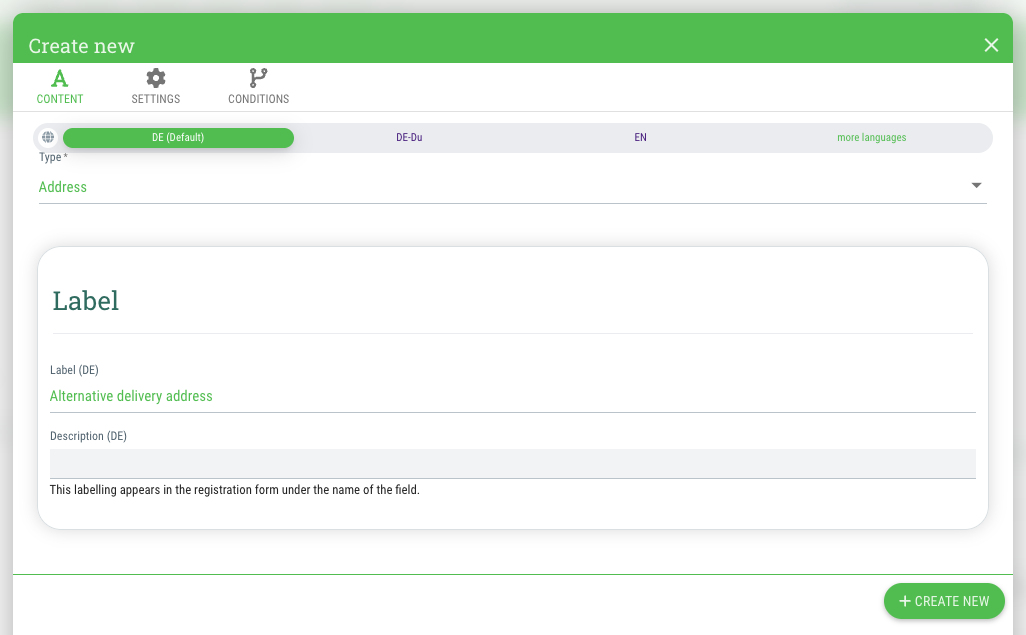
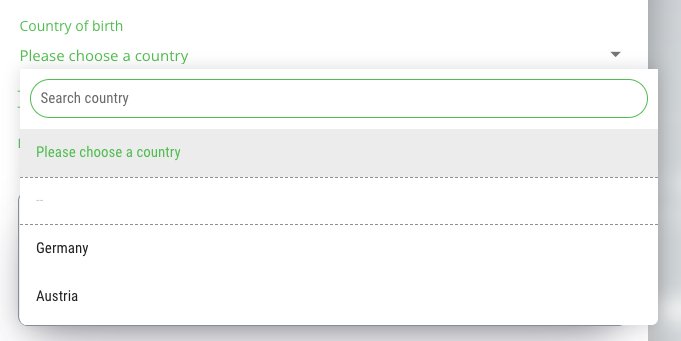
- Select the type “Country” in the dialog window
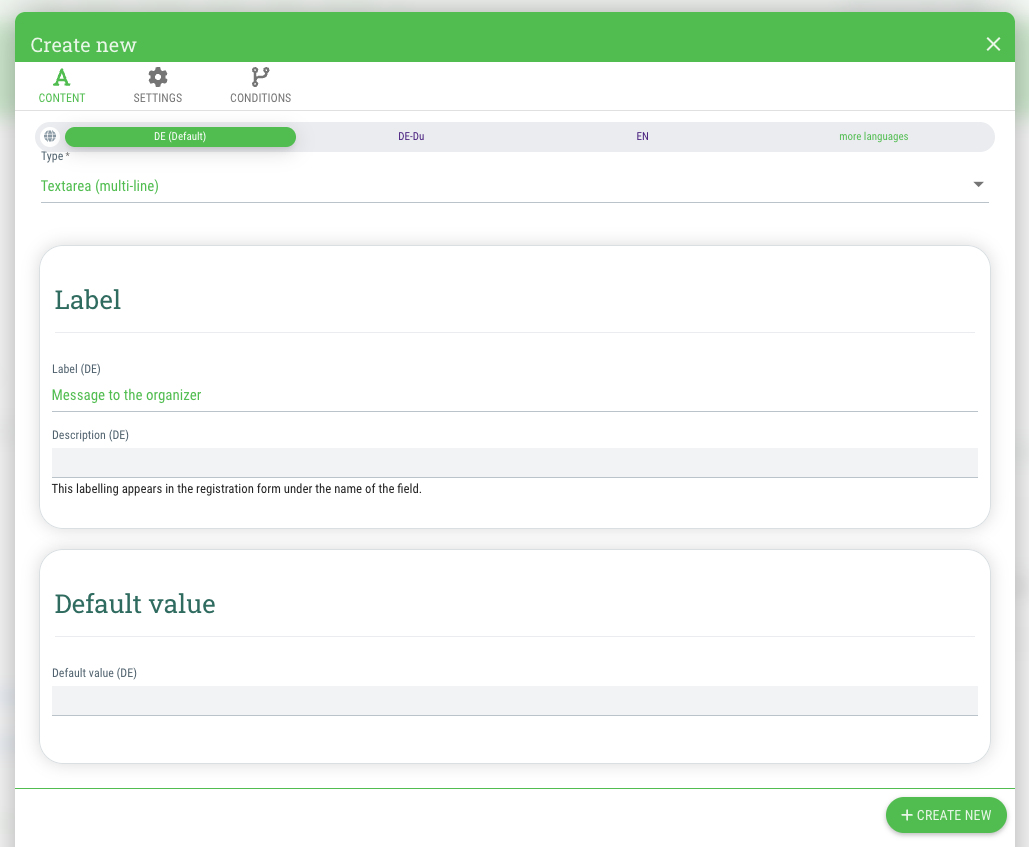
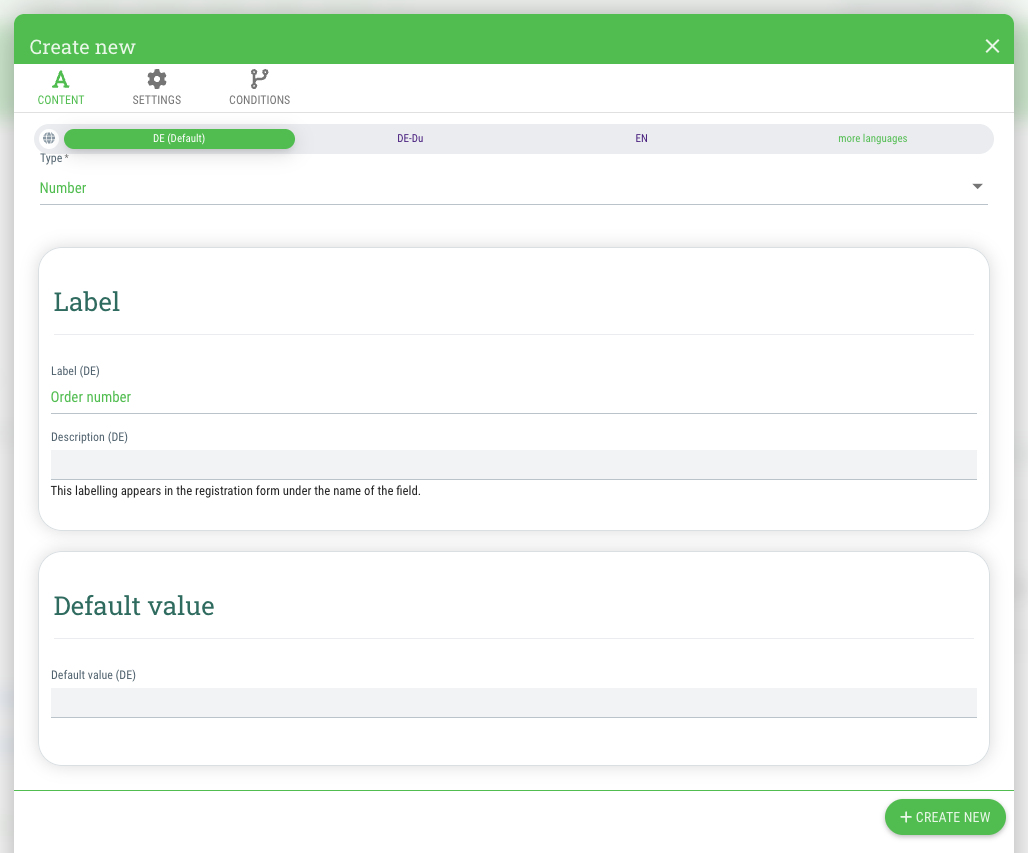
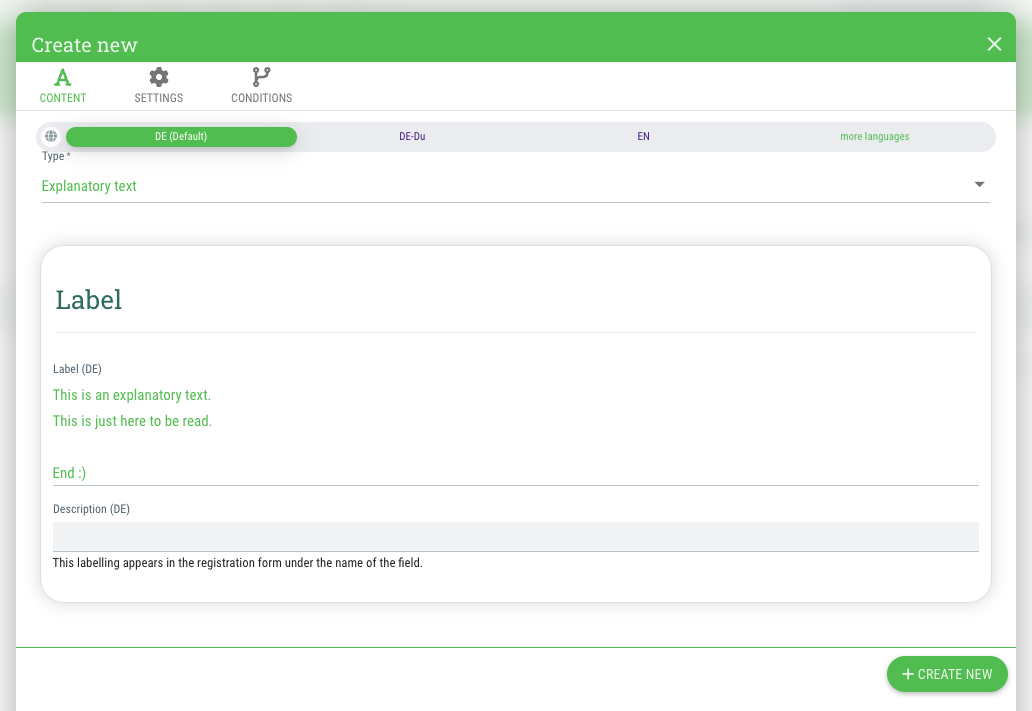
- Under “Label”, enter a name for the field
- If desired, enter a descriptive text for the field under “Description”
- Click on "+Create new"
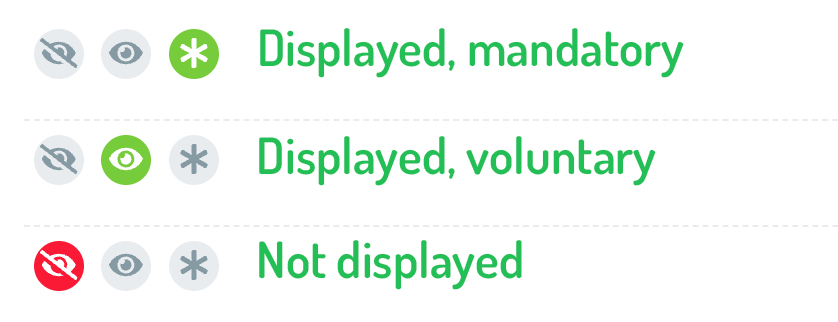
- In the overview, select whether the field should be hidden (red eye symbol), displayed but not mandatory (green eye symbol) or a mandatory field (green star symbol)
- Done
This is how:
- Click on the "+Add field" button
- Select the type "Matchmaking" in the dialog window
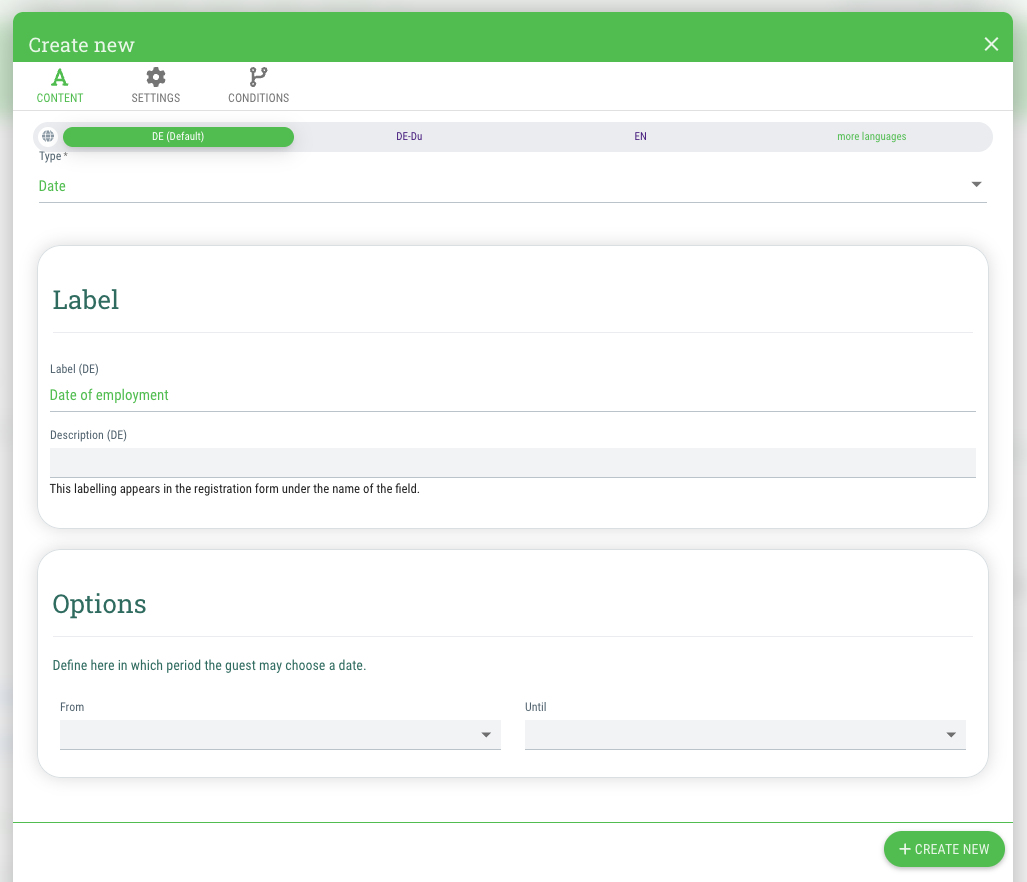
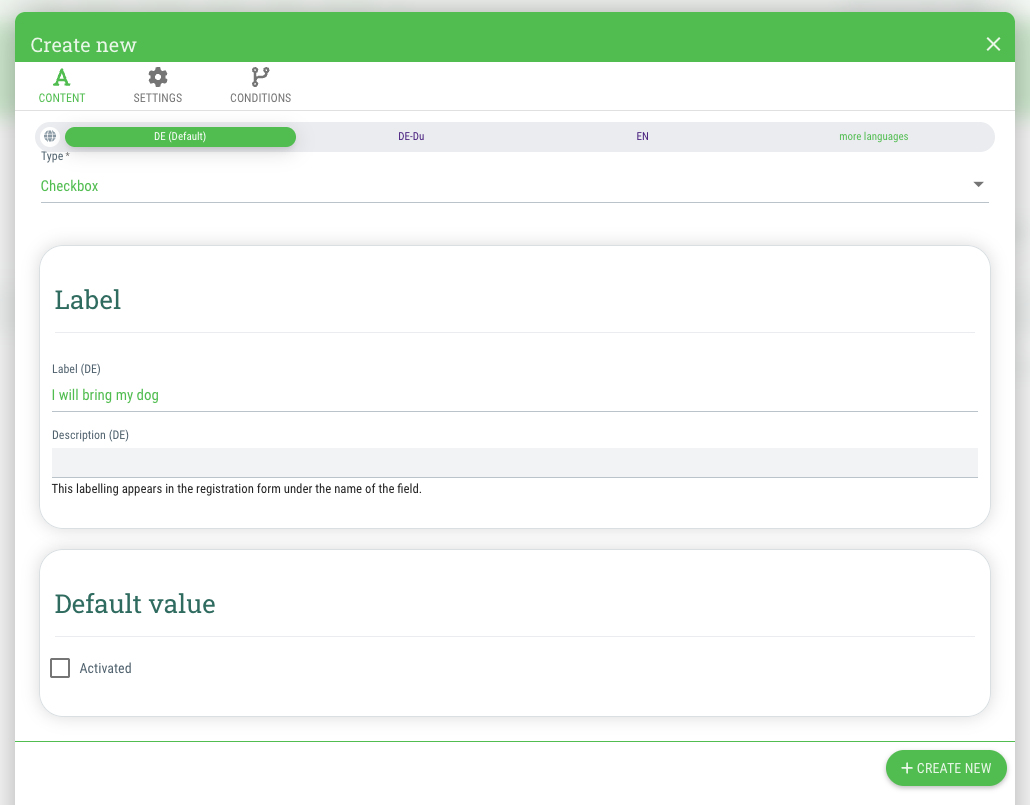
- Under “Label”, enter a name for the field
- If desired, enter a descriptive text for the field under “Description”
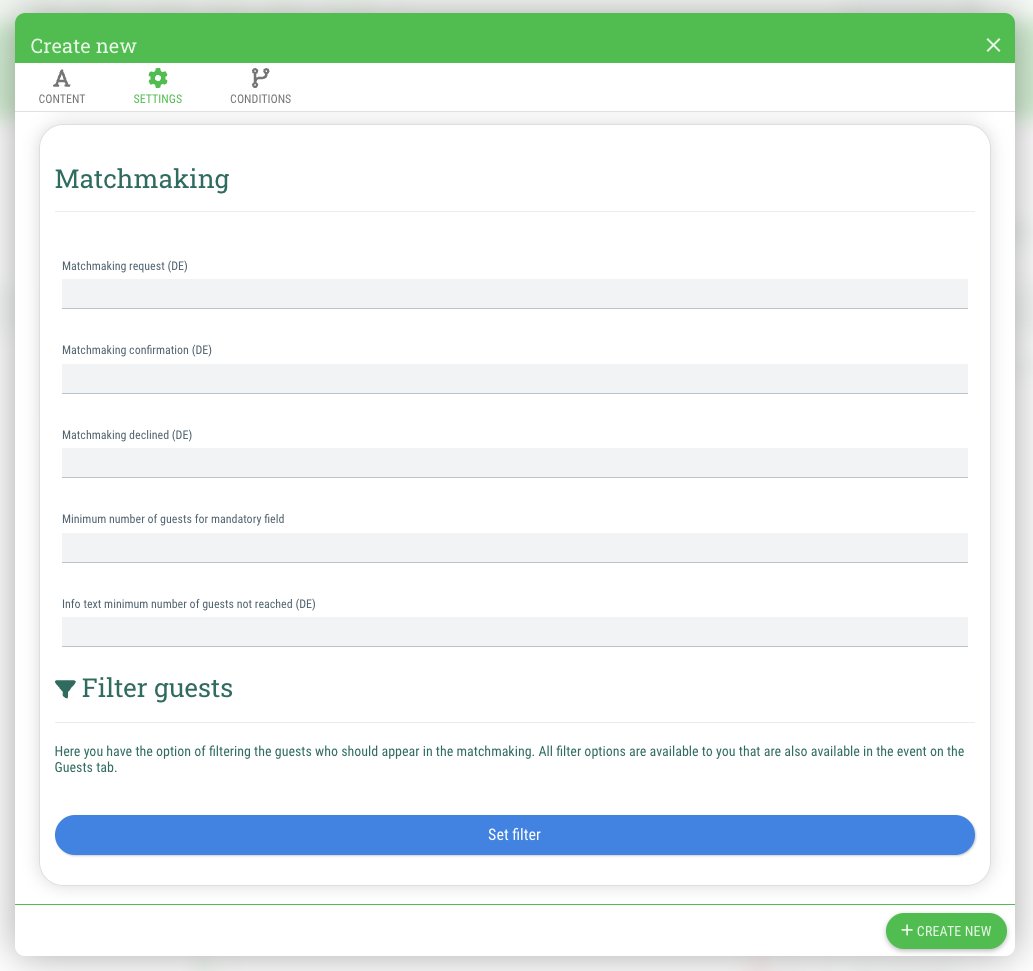
- Change to the "Settings" tab of the dialog window
- Scroll to the "Matchmaking" section
- Matchmaking request
Here you enter the text that the preferred partner should receive as an email when someone chooses them.
- Matchmaking confirmation
Here you enter the text that the guest will receive when the preferred partner confirms the request.
- Matchmaking declined
Here you enter the text that the guest will receive if the preferred partner rejects the request.
- Minimum number of guests for mandatory field
Enter the minimum number of guests that must still be available for selection in order for the field to be marked as mandatory. If this number is not reached, the guest does not have to specify a preferred partner when signing up (but they can do so).
- Info text minimum number of guests not reached
The text entered here will be displayed if the minimum number you entered in the field above is not reached. Here you can, for example, enter a telephone number that the guest should contact if they cannot find a suitable partner in the list or describe the next steps the guest should take.
- Filter guests
By clicking on “Set filter”, you can specify which guests should be displayed for selection during matchmaking. All filters that you know from the guest list of the event are available to you. You can find more information about the available filters in our documentation.
- Click on "+Create new"
- In the overview, select whether the field should be hidden (red eye symbol) or displayed (green eye symbol)
- Done
Note: Please note that fields of the type “Matchmaking” are only displayed to invited guests with their own individual invitation link/code!
Procedure
Once all settings have been made as described above, the procedure is as follows:
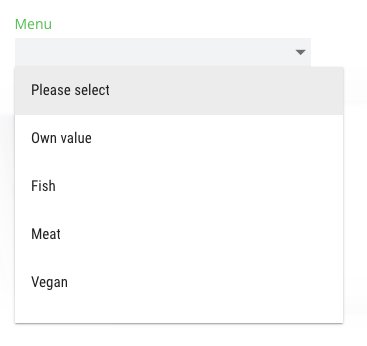
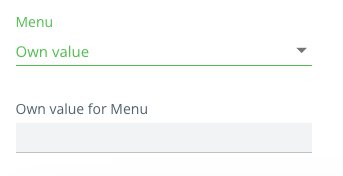
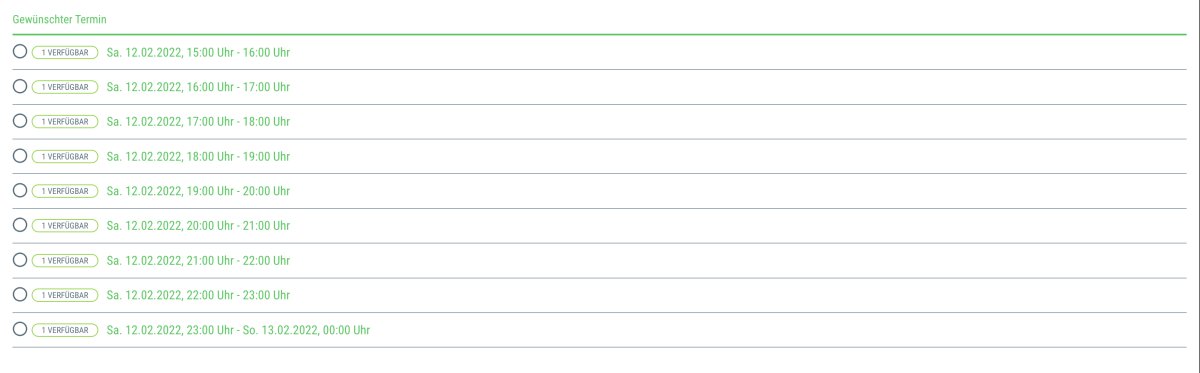
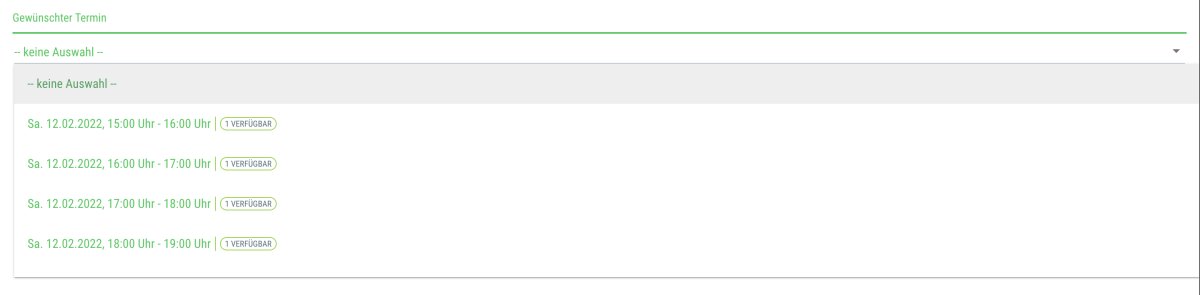
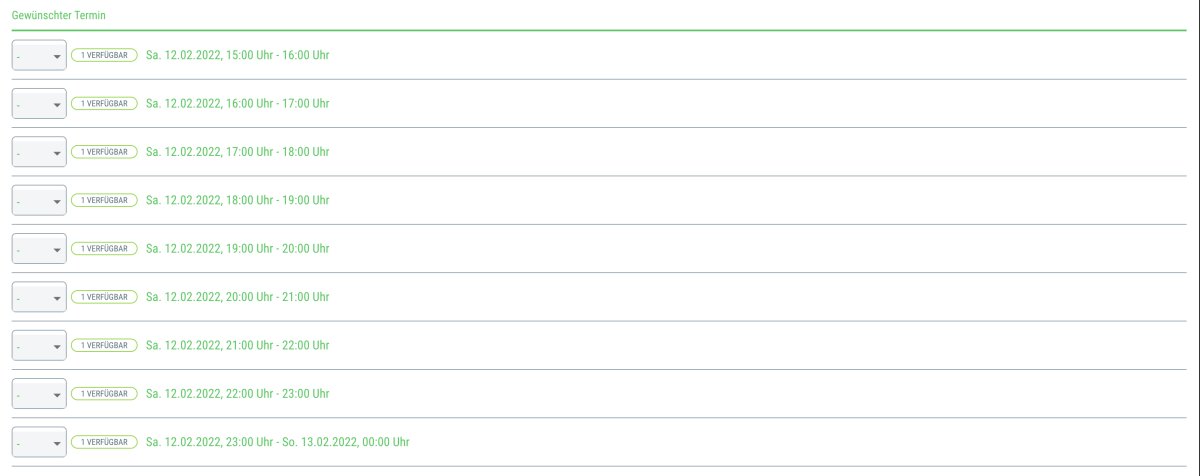
- The guest selects a preferred partner from the list when signing up. They can also use the search function within the field.
- The selected person will receive an email with the text you have specified under “Matchmaking request”.
- This email contains a link with which the person can accept or decline the request.
- The guest will then receive an email with the reply from the person they have chosen. The content of the email is the corresponding text that you have entered under “Matchmaking confirmation” or “Matchmaking declined”.
- Depending on the answer, the process continues as follows:
Confirmed:
If the matchmaking request has been accepted, nothing further needs to be done. The guest and their preferred partner are stored as a match in the system.
Declined:
If the matchmaking request was declined, the guest (if the function is activated) can edit their guest data to add a new preferred partner. The process from step 1 is repeated.
As an admin, you have the option of manually setting or removing a match when editing a guest.
In the Excel export of the event you will also find (if activated) a column with the matchmaking ID, which you can sort by if you wish.
Examples of use
- Selection of preferred partners to share a hotel room with
- Formation of teams
- Arrangement of meetings
- etc.