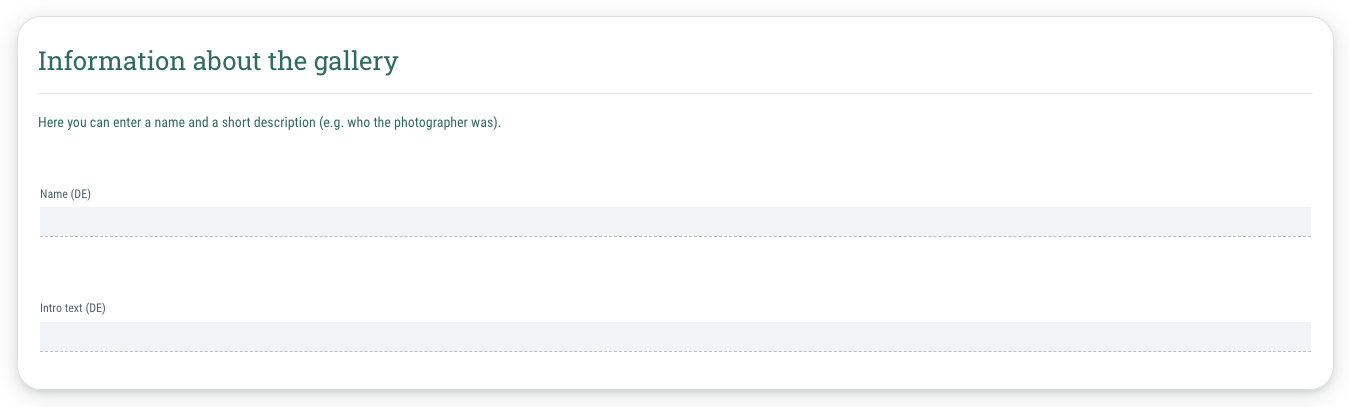
Gallery

Picture gallery for your event

Here you can find out how to create a gallery for your event, in which you can upload pictures of the event for your guests.
All the settings explained here can be found in the “Gallery” tab of your event.

Du kannst für das guestoo Back-End zwischen zwei Darstellungsoptionen wählen. Die Screenshots in der Doku basieren auf dem "Klassischen Design".
Hier siehst Du die Unterschiede, damit Du dich auch im "Modernen Design" zurecht findest: » guestoo Back-End-Design


Information about the gallery

Information about the gallery -
Name (optional)

Here you can give your gallery a name, e.g. “Pictures of the event”.

This information is optional.

Intro text (optional)

Here you can enter a short description, e.g. with a thank you message to your guests or information about the photographer of the event.

This information is optional.

Settings

Settings -
Visibility

Here you define who can see the gallery.

You have the choice between:

  • Public
    If you choose this setting, anyone who knows the link to the event page will be able to see the gallery.
  • Only visible to guests
    If you choose this setting, only guests of the event will be able to see the gallery.
  • Offline
    If you choose this setting, no one will be able to see the gallery.
Download

If you want to give your guests the option of downloading the images from the gallery, activate the “Download all images” option by setting the toggle to green.

Categories

Categories -

Here you can create one or more categories for your gallery.

This is how it works:

  • Go to the “Gallery” tab of your event
  • Scroll to the "Categories" section
  • Click on the "Edit" button in the top right corner
  • Click on the "+Add" button
  • Enter a name for the newly created category
  • Then select the sorting order in which the images in the category should be displayed.
    You have the choice between:
    • Erstelldatum, ältere zuerst
    • Erstelldatum, neuere zuerst
    • Aufnahmedatum, ältere zuerst
    • Aufnahmedatum, neuere zuerst
    • Titel, aufsteigend
    • Titel, absteigend
    • Dateiname, aufsteigend,
    • Dateiname, absteigend
  • Using this method, you can create as many categories as possible
  • Once you have created all the desired categories, click on the “Save” button in the top right corner
Delete category

If you want to delete a category that has already been created, proceed as follows:

  • Click on the "Edit" button in the top right corner
  • Click on the minus symbol next to the category that you want to delete
  • In the dialog window, you can now select whether all images in the category should also be deleted
  • Click on “Delete” to confirm the deletion of the category (+ any images it contains, if that's what you chose)

Bilder

Bilder -

Here you can upload the images for the gallery and define a title and description for each image .

If you want to delete an image, simply click on the recycle bin symbol above the corresponding image.

Notes on the pictures in the gallery
  • Large images are automatically reduced to a maximum length or width of 2000px and saved unencrypted!
  • Please obtain the consent of the person(s) depicted in advance for pictures in which people can be seen