To include a queue in your event, simply pass on the queue link to your guests instead of the link to the event microsite.
This is how you set up a queue for your event:
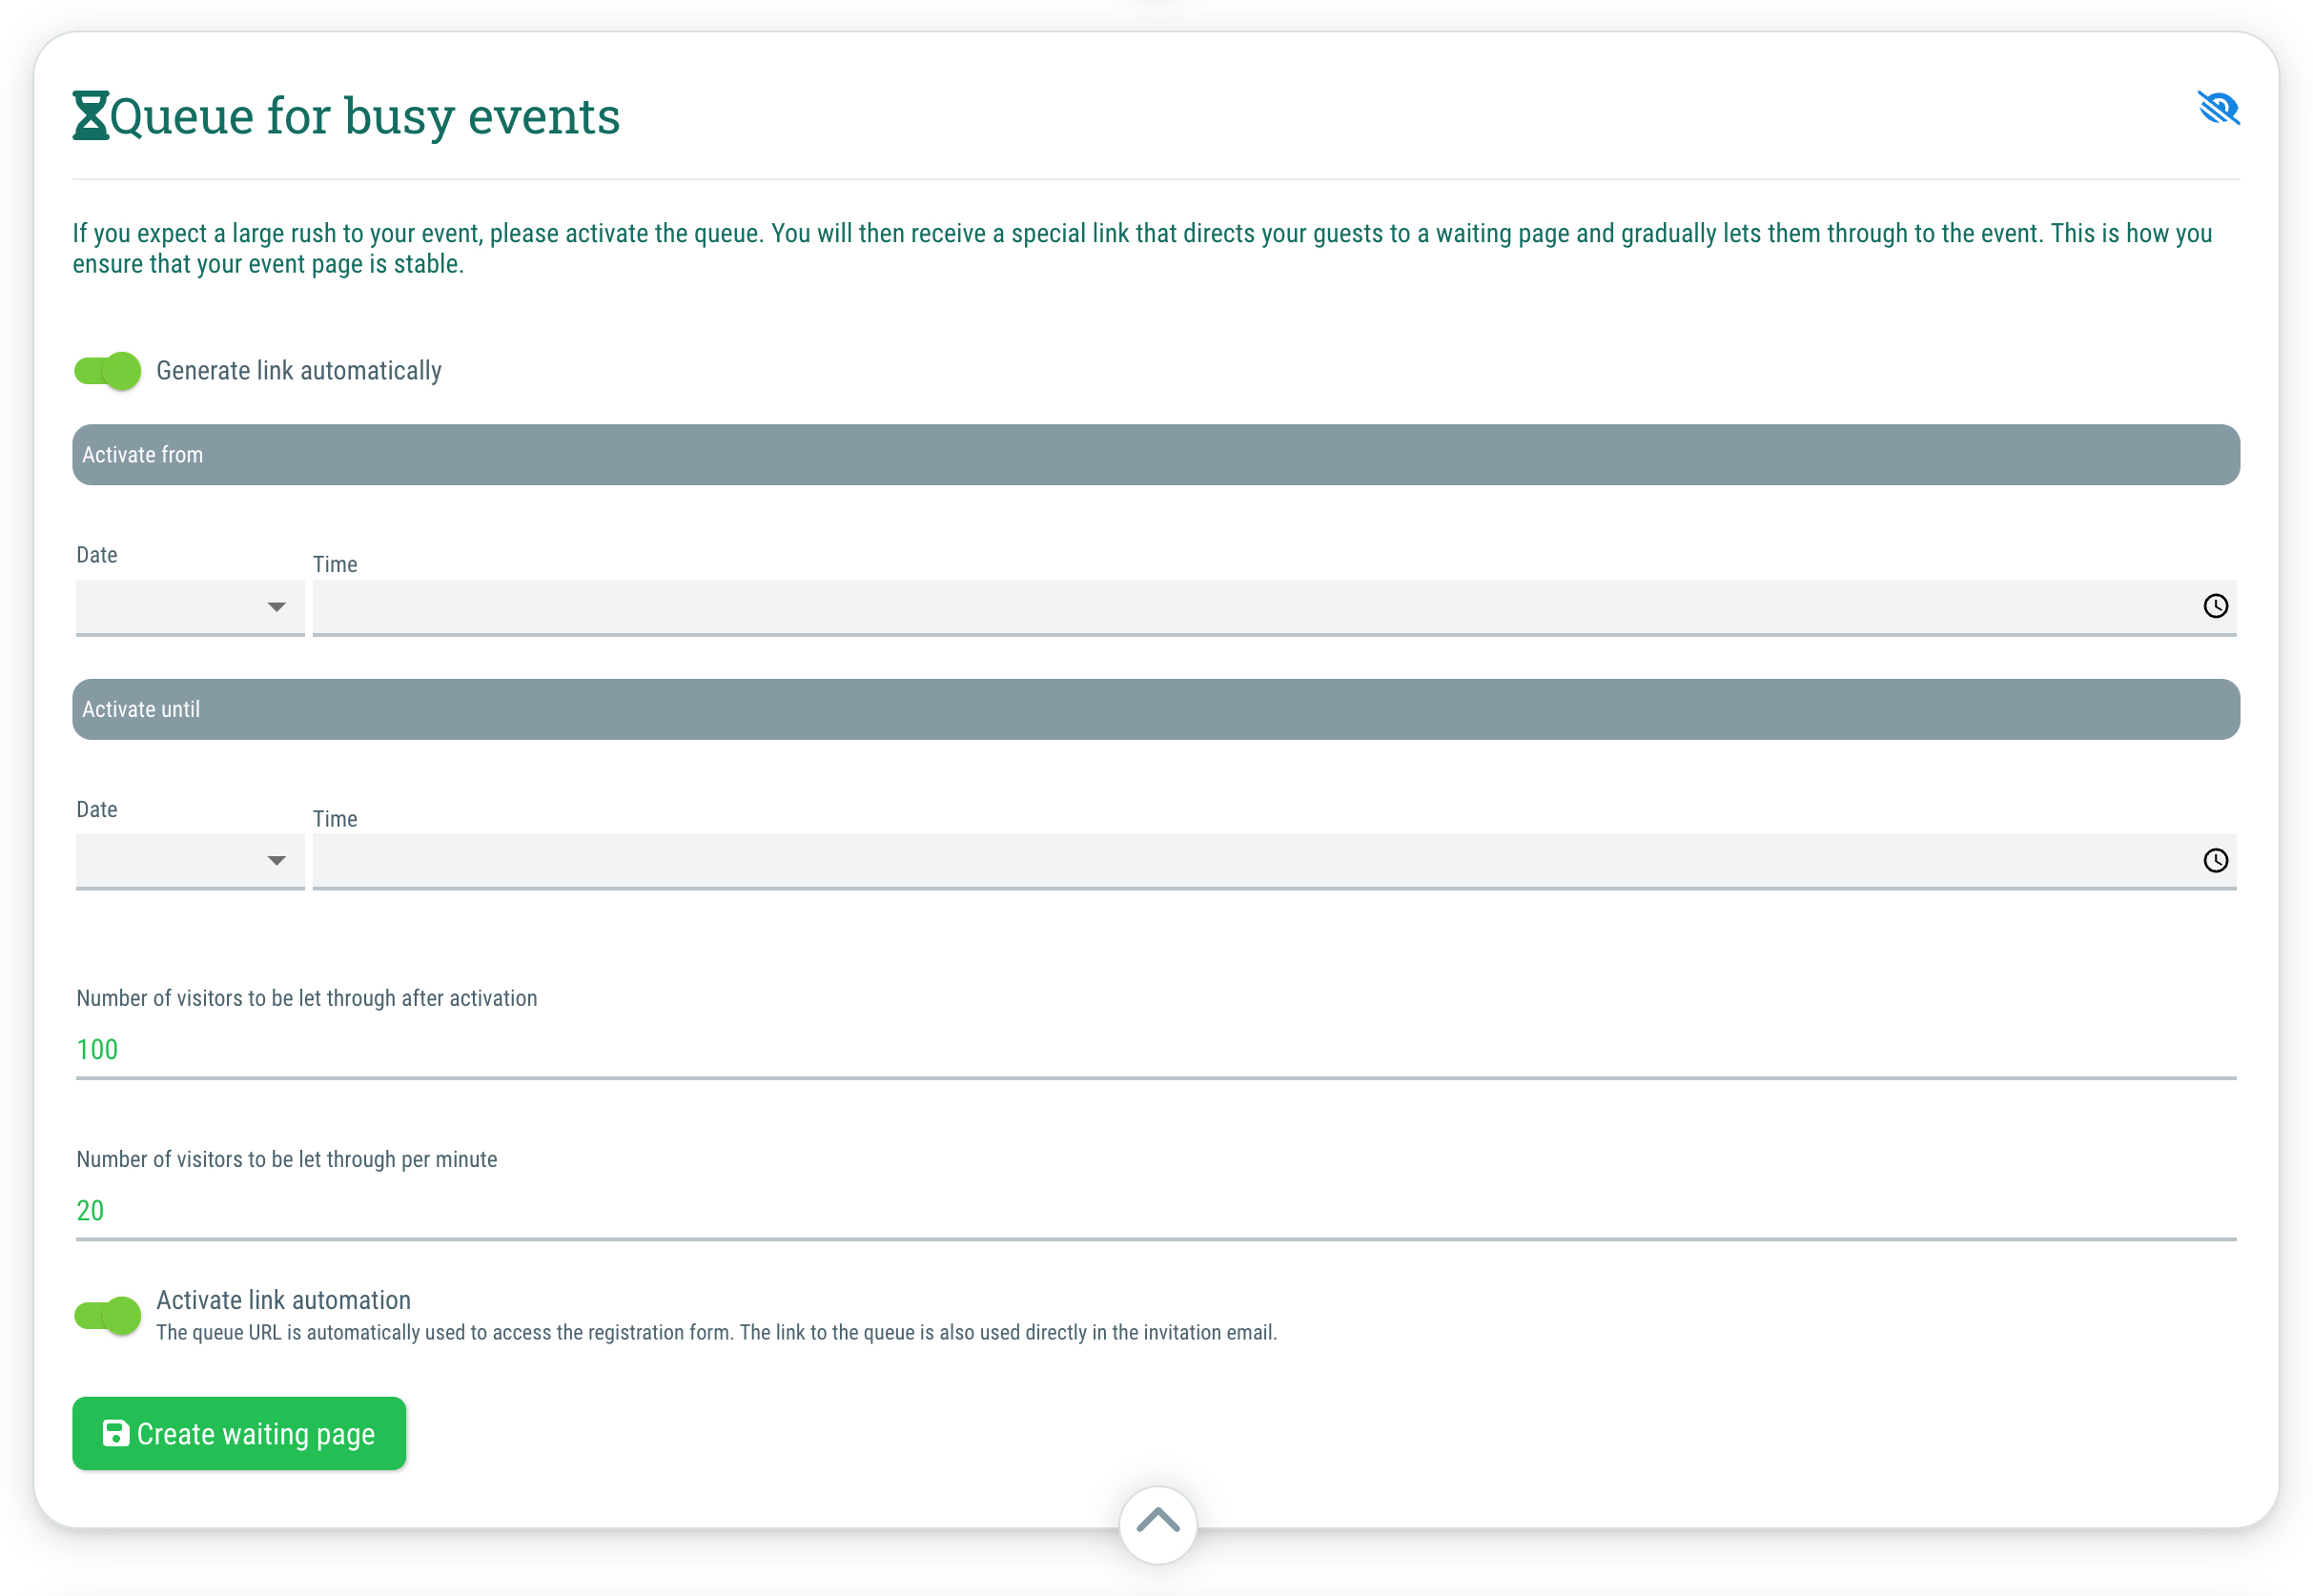
- Automatically generate link
If you activate this option, the link to the waiting page will be generated automatically. If you want to define your own short URL instead, you should deactivate this option (= Toggle on red) - Desired name: If you do not want an automatic link to be generated, enter the desired name at the end of the URL, e.g. “pirate-summerparty”.
Important: At this place you must ONLY enter the part that you want to appear after https://q.gstoo.de/, for example: If you enter pirate-summerparty, the short URL https://q.gstoo.de/pirate-summerparty will be created - Activate from:
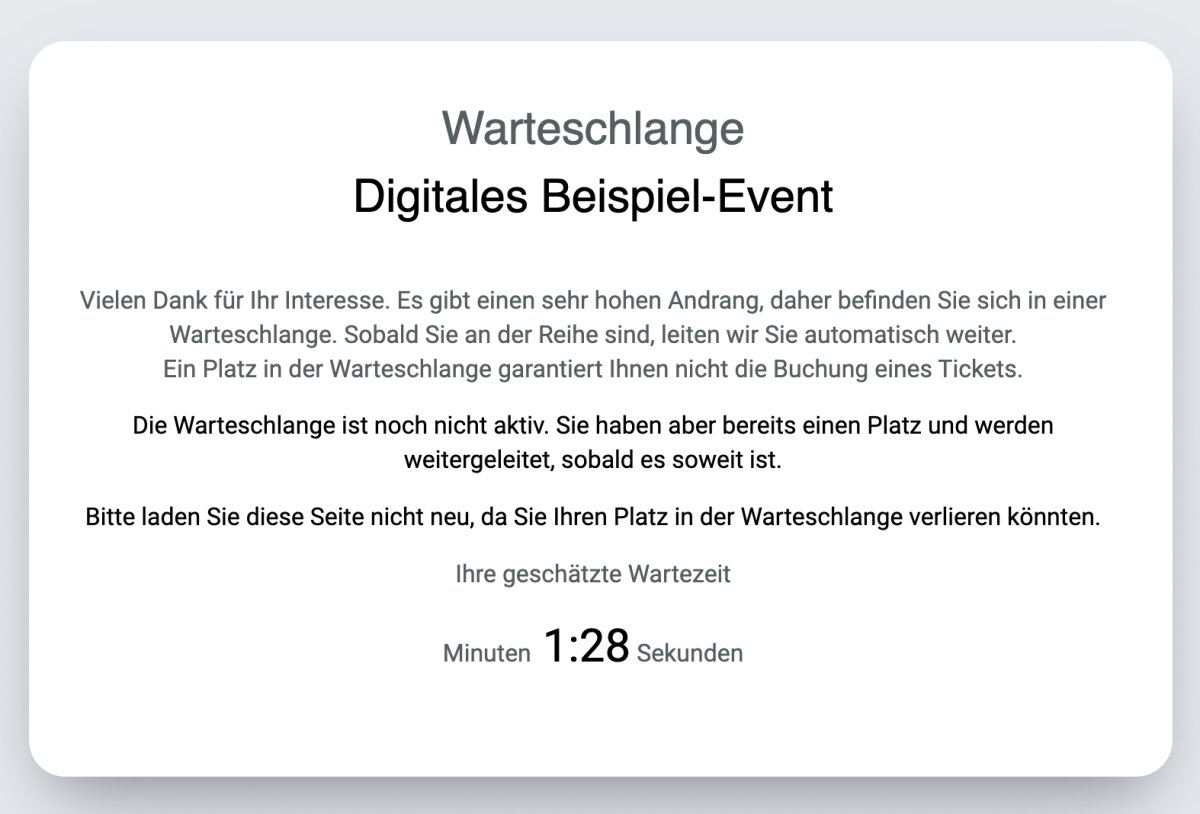
Here you choose the date and time from which the queue starts to run and forwards those waiting to the event page.
If someone joins the queue before this time, they will be assigned a place in the queue already, but won't be forwarded to the event page yet, instead a countdown will be shown. - Activate until:
Here you select the date and time for how long the queue should be active. Afterwards, guests are forwarded to the event page immediately without having to wait and be allocated a place in the queue. - Number of visitors to be redirected after activation:
Here you specify how many guests should be forwarded to the event page in the “first batch” directly at the launch of sales - Number of visitors to be redirected per minute:
Here you enter how many additional guests should be redirected to the event page per minute.
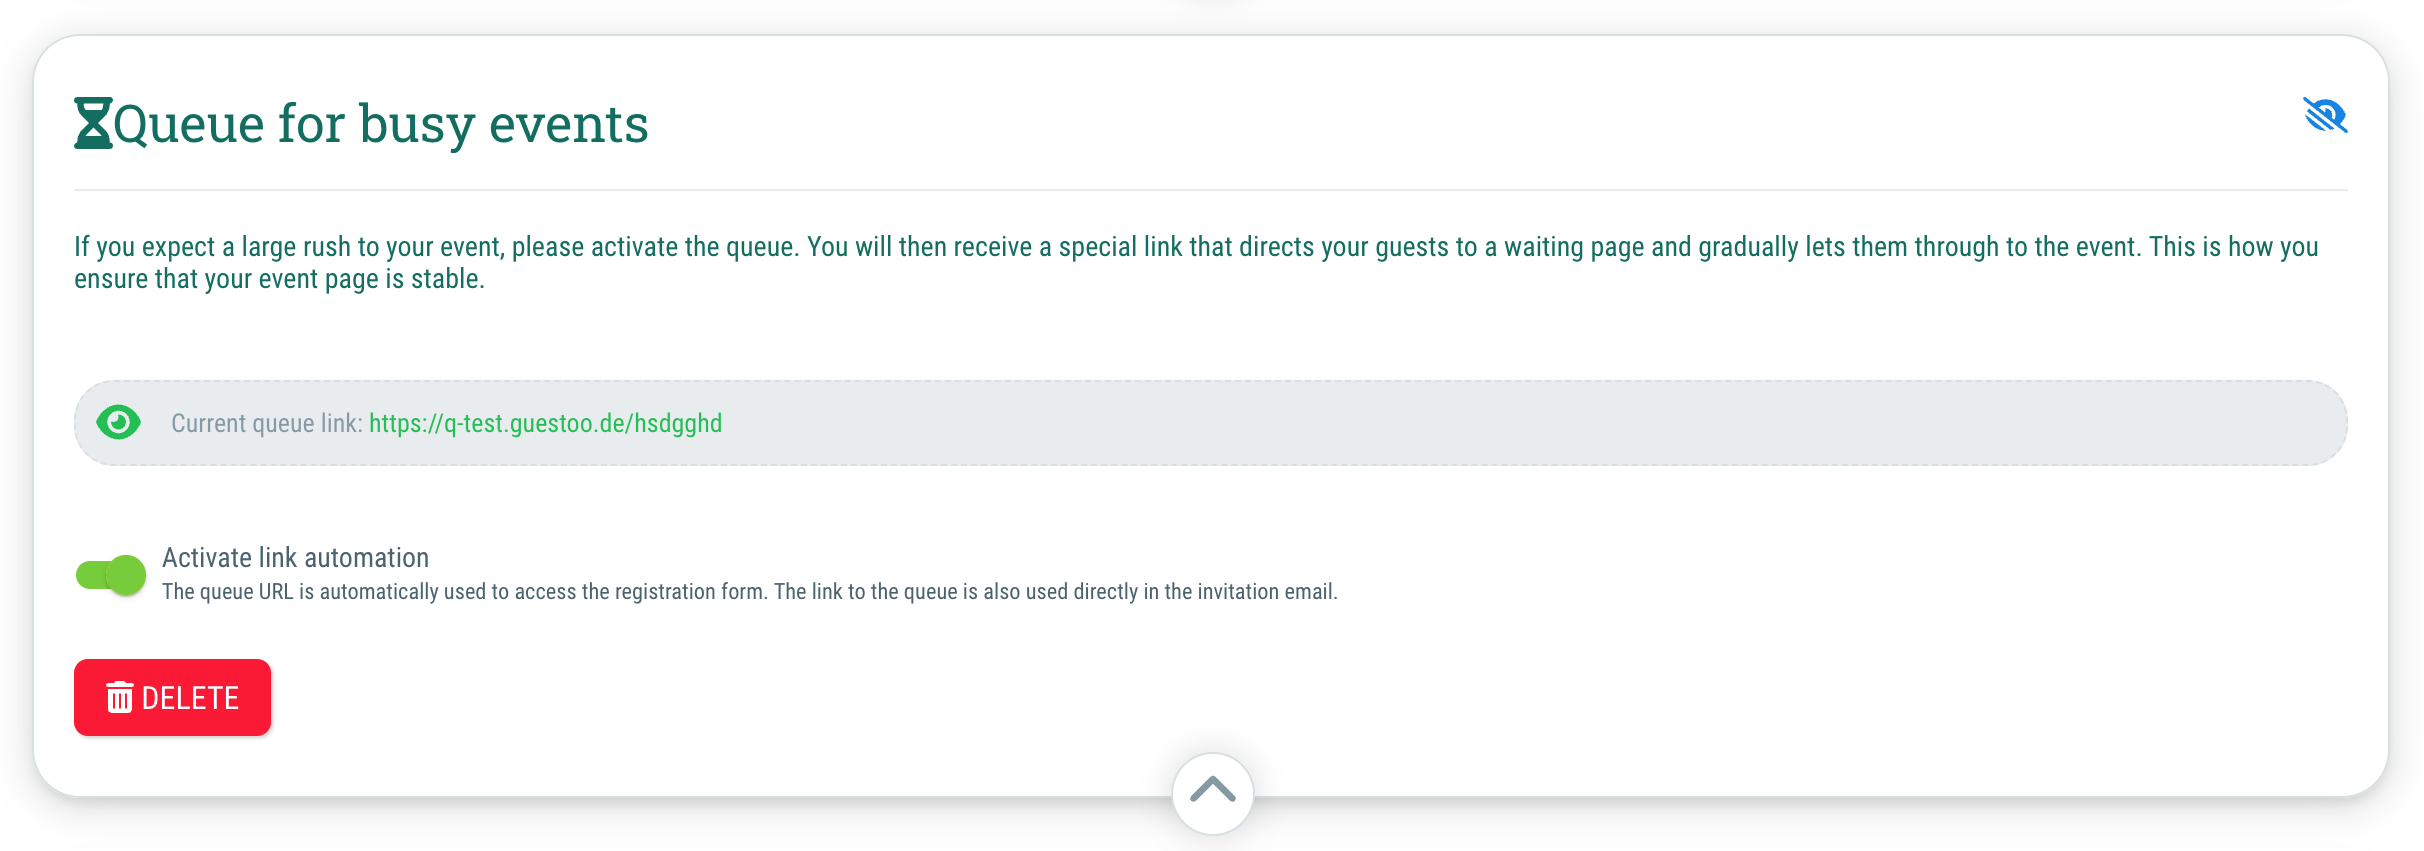
Note: The amount of guests entered here will not be forwarded to the event page in one go, but spread evenly over the 60 seconds. - Activate link automation
If you activate this option, every guest will automatically be redirected to the waiting page, even if they access the event site via the normal URL. If you send invitations from within guestoo, the waiting page URL will also be used automatically.
Note: Guests who are already signed up for the event will not be redirected to the waiting page, but will be taken directly to the event site. - Click on "Create waiting page"
Allocating places in the queue
When a guest opens the waiting page, they are automatically assigned a place in the queue.
- If the guest reloads the page, they will keep their place in the queue
- If the guest closes the window/tab or browser and then opens the page again in a new tab/window/browser, the old place in the queue is lost and a new place at the end of the queue is assigned
- If the guest opens the site in a different browser or in a new incognito window of the same browser, a new place in the queue is assigned
- Tip: If you would like to send a personalized URL to a guest, you can easily extend the queue link by adding the invitation code to the end of the URL.