Once you have made the settings explained above, all you need to do is download and set up the free guestoo check-in app on your check-in devices.
This is how:
- Download the free guestoo Check-in app from the App Store / Play Store - you can find the direct links to the latest versions on this page.
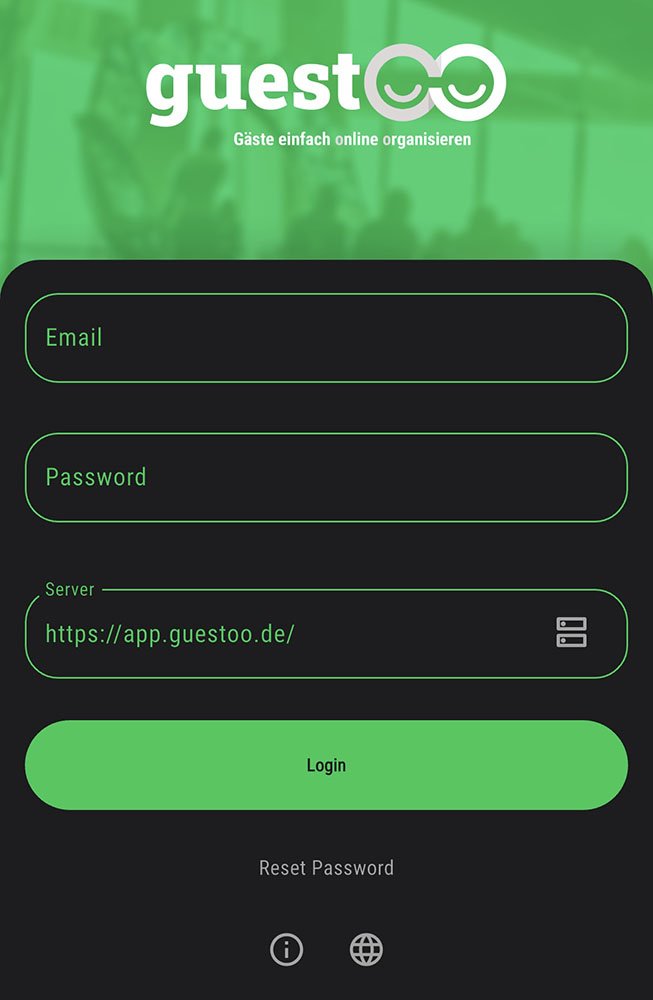
- Open the guestoo check-in app
- Log in using your guestoo login details (email & password)
- Note: If you use guestoo on your own server, you must enter it accordingly under “Server”. If you use guestoo in the cloud version (= on our servers), leave the prefilled URL https://app.guestoo.de!
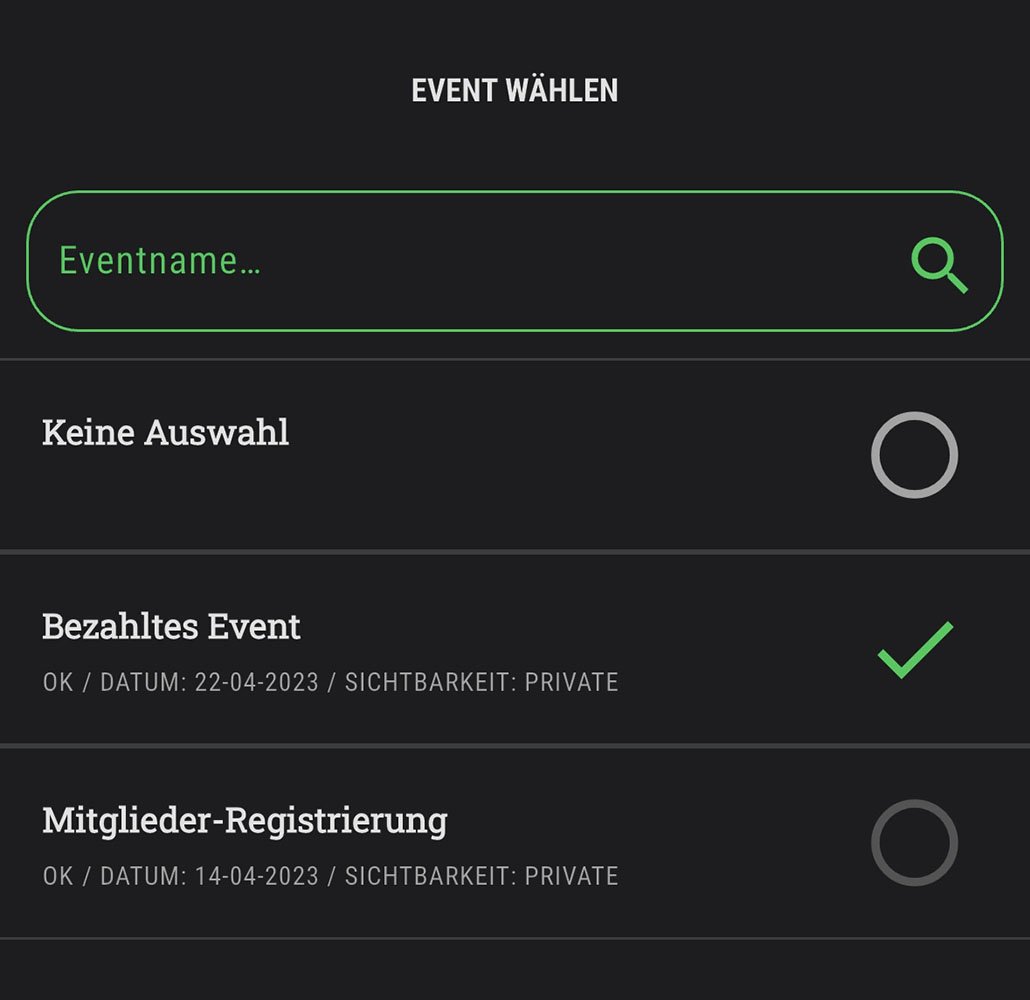
- Important: If you work in several guestoo agencies, you can select the agency in which the event for which you want to check in guests is located under “Change agency” in the “More” tab
Check-in with multiple devices
If you want additional staff to help you with check-in and you want to work with multiple devices at check-in, we recommend that you create a separate manager user for each person or check-in desk. You can find out how to do this on this page.
Each user then has their own login details and you can delete users if necessary, e. g. if they are no longer working for the company or are only supposed to help with check-in for a single event. As soon as a user is deleted, they no longer have access to the guestoo agency.
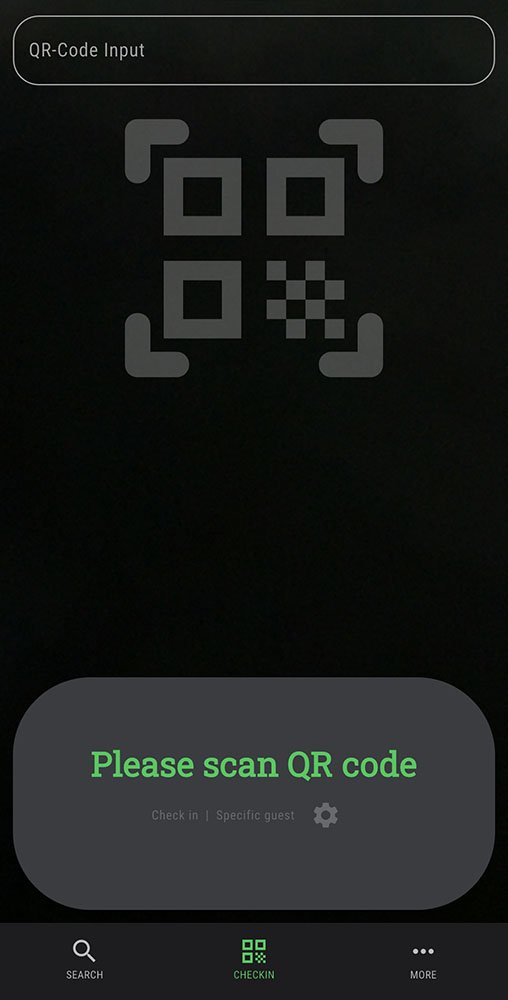
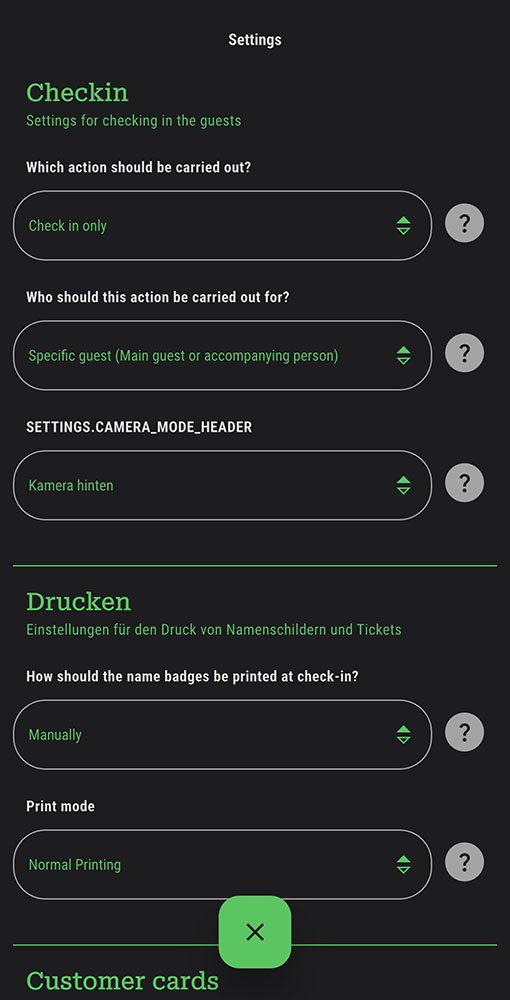
Settings in the check-in app
There are various settings in the check-in app that you can choose to customize the check-in process to your needs.
You can find an overview of these settings including a description of what they do on this page.