Now it's time to let our guests know when and where the event is supposed to take place.
When
In the "When" section you can choose the date and start time of your event. If you want to, you can also choose the date and time of the event's end or choose the option "Open End".
Warning: Your event needs to have at least a start date and time (unless you choose the option "Event has no date" - otherwise there will be an error once you click on the "+ Create" button!
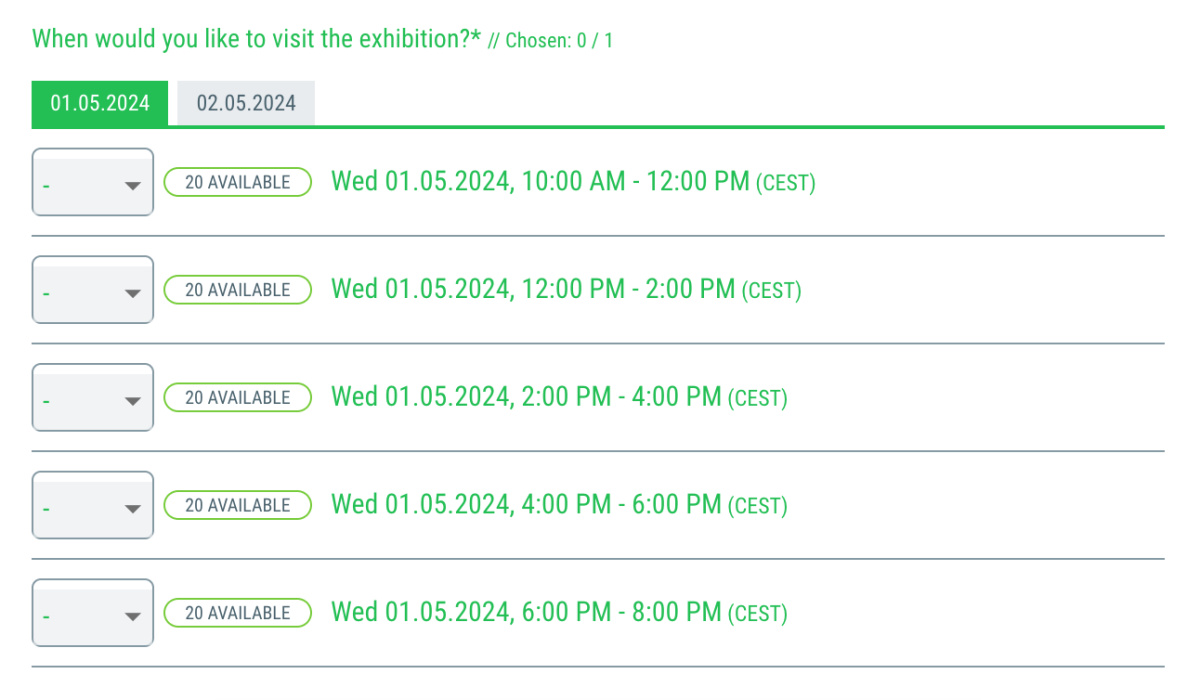
For our example, we specify that the event - in this case our exhibition - runs over several days, e. g. May 1st until May 2nd 2024.
Further information regarding the "When" section can be found here.
Type of event
The default setting in the "Type of event" section is usually "On location event". We'll keep this setting for our tutorial, but feel free to choose " Online event" or "Hybrid event" if it suits your purposes.
Further information regarding the "Type of event" section can be found here.
Where
The "Where" section is used to enter the address of the venue, where the event will take place. You can use the "Additional information" field to give your guests further information regarding the parking situation or other advice regarding the venue.
Further information regarding the "Where" section can be found here.
As soon as you have entered this basic information, you can click on the "+ Create" button on the top right corner in order to save your settings!
 Kostenlos anmelden


